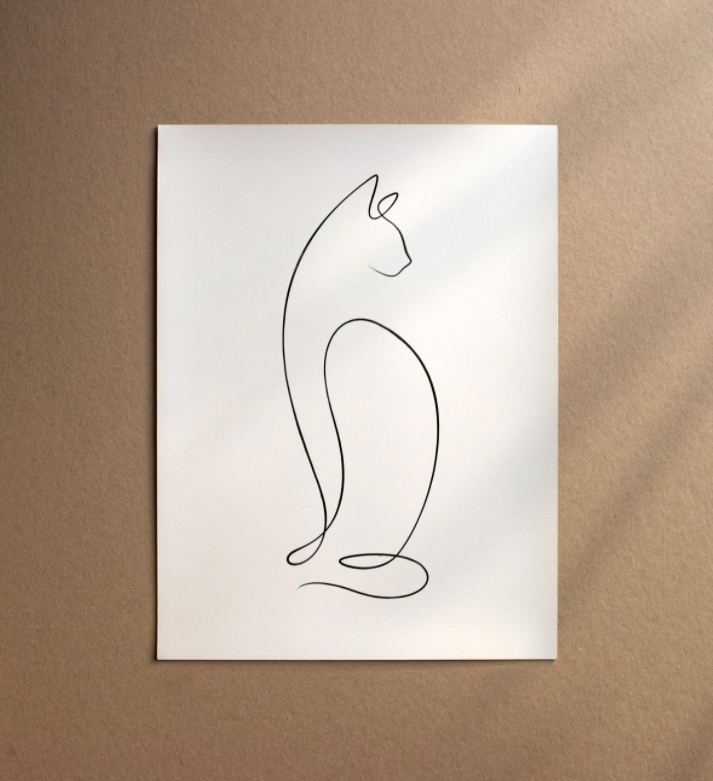
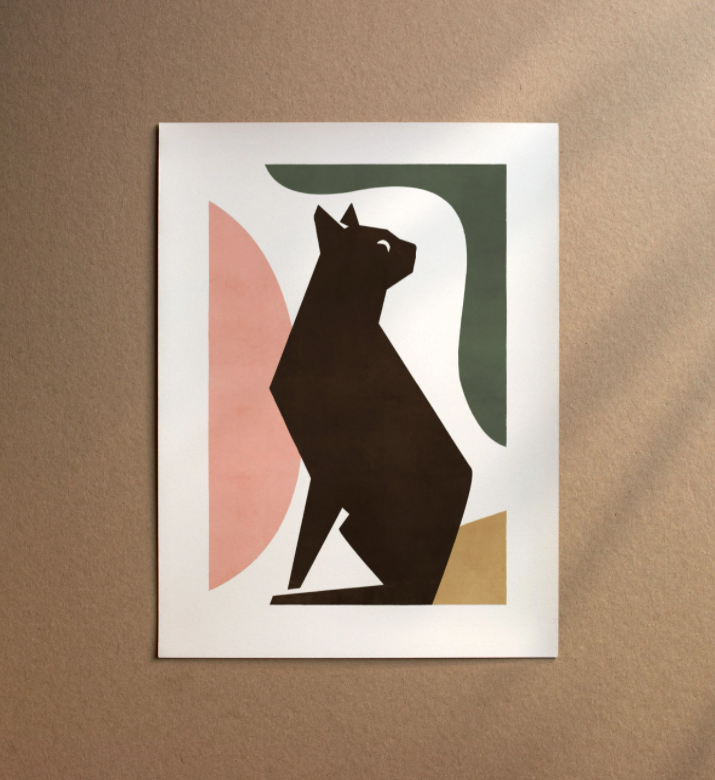
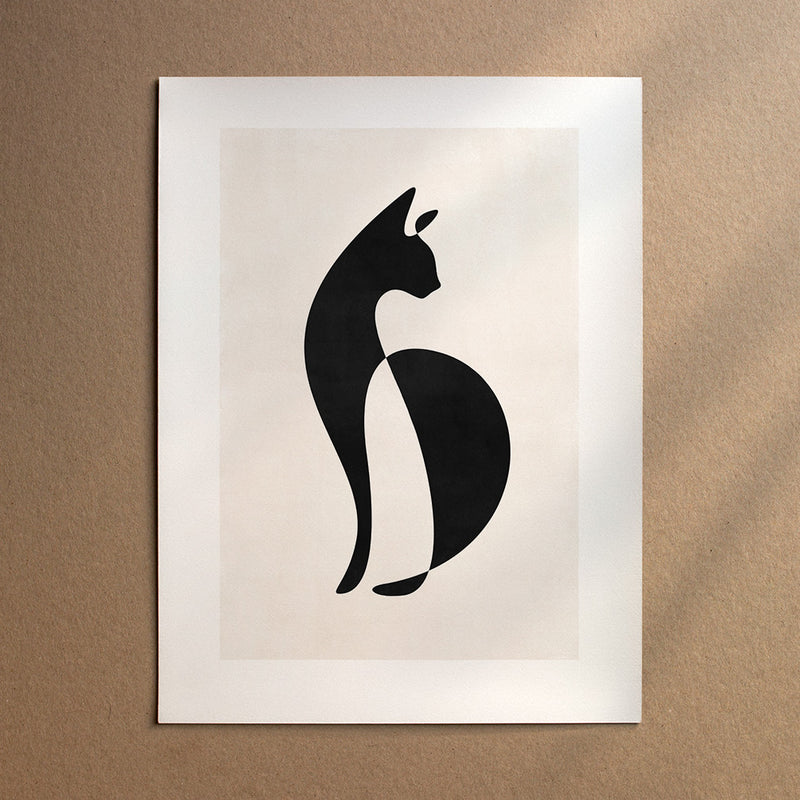
How to Draw a Cat
Cats are fascinating and beautiful creatures, making them the perfect inspiration for art. Whether you’re a cat owner yourself or just want to create something special for a friend, drawing a cat is a rewarding and enjoyable process. If you’re ready to create your own realistic cat drawing, you’ve come to the right place.
Get comfortable, collect your art supplies, and let’s dive into how to draw a cat.
1. Decide which cat you’re drawing
First thing’s first – choose which cat you’d like to draw. There are around 40-70 different cat breeds around the globe, and each type has unique characteristics and features.
If you have a cat of your own, this is definitely the best place to start. If not, it can be helpful to take inspiration from a cat owned by a friend or family member, so you can observe them in person.
If you’d like to draw something a little more exotic, you can find inspiration on social media, adverts, magazines or images online to emulate. Collect together as many images or videos as you can, so you can get a feel for how the cat moves and sits.
2. Choose a pose and do some practice sketches
Once you’ve chosen your cat, decide which pose you want to draw them in. Do you want to sketch them sitting still, or prowling in motion? Different poses can capture different things – do you want to showcase their cute face, agile movements, or quirky character?
Cats move in a unique, languid way, and it’s important you capture that in your drawing. Observe how cats prance, prowl and play. Do a few simple, rough sketches of cats in different poses to help you refine your skill. This practice will help you get to grips with cats’ bodies and the structure under the fur. Allow yourself to sketch without any pressure or expectation at this point – it’s fine to make mistakes and play around with your drawing style.
3. Decide on the background of your cat drawing
Think about the setting you want to draw, and whether you want to incorporate colour or background. You could draw a cat sitting still against a blank background, running through a field, or curled up in front of a fire.
Including colour or a background setting will make this process more complex. If you’re a beginner, it’s best to start with a black and white pencil drawing to keep it simple.
4. Sketch the simple lines

To begin your cat drawing, use a ruler to mark out a faint grid on your paper (vertical and horizontal lines). This is a frame for you to work within, and will help you keep everything in proportion. You don’t want to draw a huge head with a tiny body by accident!
Softly sketch the simple outlines of the cat’s frame. Stick to rounded shapes, like circles and ovals, to gently mark out the outline of the body, head, paws, legs and tail. Sketch these lightly so the lines are easy to draw over or erase.
5. Create the cat’s body

Once you’ve got the simple outline of the cat’s body, add a little more definition by joining up the shapes.
Draw your lines softly so they’re easy to erase if you’re not happy with them. Try to stay true to the shape and features of the breed you’ve chosen, carefully copying the outline of their distinctive limbs, tails and paws.
6. Draw your cat’s facial features and add depth

Now that the faint outlines are done, it’s time to add depth and darkness to the drawing.
Starting with the cat’s face, outline the edges in a slightly darker pencil. Consider the features of the cat you’ve chosen, and try to sketch them as true to form as possible.
Begin to add some shadow and fur texture at this point too – this instantly adds depth and realism to your cat sketch.
7. Create a furry texture

Holding your pencil lightly, add fur to their face by shading softly around the lines. Focus on the type of fur your cat has – some cats are long-haired and fluffy, whereas others are short-haired and silky. Using a tiny flicking motion with your pencil to add tufts of hair and individual strands will make the fur look more realistic.
Using this same technique, start to work down the cat’s body, using little strokes and scribbles to reflect the natural fur texture.
8. Frame your finished cat drawing!