How to Draw a Dog
If you’re a dog lover, there’s no better way to show your love for your four-legged companion than through art. Dogs are playful, beautiful and unique, making them one of the most fun subjects to draw.
A dog drawing also makes a wonderful gift to send to a loved one. If you’re trying to find a meaningful gift for an animal lover, why not create a hand-drawn portrait of their furry friend?
Whether you’re completely new to drawing or you’re already a sketching pro, we’ve created a step-by-step guide to help you draw a realistic dog.
1. Things to think about before you start drawing a dog
Drawing a dog follows the same basic steps as drawing a cat (or any other household pet!). You’ll use a similar technique throughout, but all animals have different features, characteristics and movements.
Physical differences between breeds are especially prominent with dogs – far more so than with other species like cats. The visual difference between a Greyhound and a Pug is vast, so it’s important that you have a focus or a specific dog you’re aiming to draw. Drawing a dog that you know personally is preferable, as you can spend time observing it’s movement in person. If you don’t have a dog, choose your favourite breed and find a collection of images and videos online to observe and copy.
If you’re creating your dog drawing as a gift, spend time observing your loved one’s dog or find some images you can base your drawing off. It’s important you have something to follow, rather than trying to remember and draw the dog’s features from your imagination.
2. Decide on the type of dog drawing you want to do
It’s time to make some decisions about how you want your sketch to look. Decide what the function is, and what material or paper you’re drawing on. Is it going to be a poster, a card, a gift or just a casual drawing in a sketchpad?
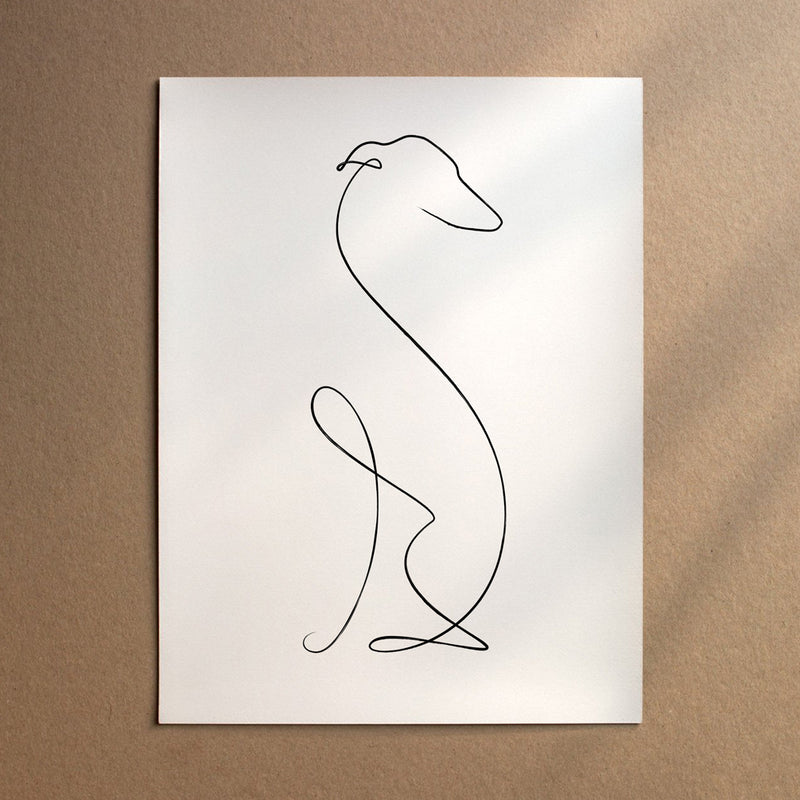
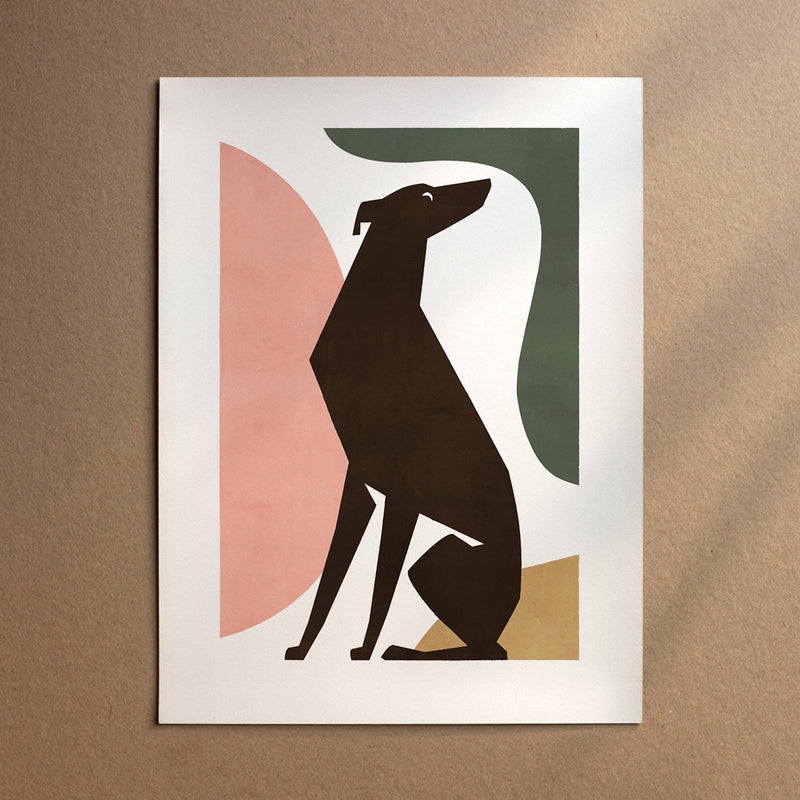
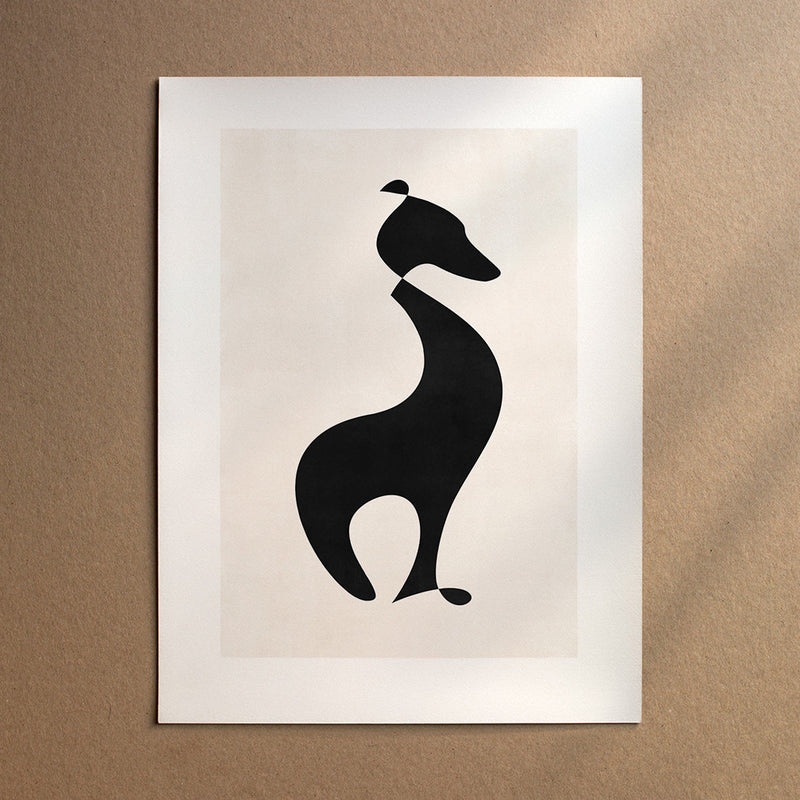
Next, think about the aesthetic you want to achieve, and whether you’re going for a minimalist, modern look or a traditional style. Pick out a selection of pencils, both light and dark, and then any colour you might want to include. Feel free to get playful and include some crayon or paint, if you’re feeling adventurous!
3. Choose a pose and do some practice sketches
Decide how you’d like to depict your dog. You could opt for a sitting, running, jumping or a playful pose – whichever you feel comfortable with.
Before you begin on your final sketch, do some important prep work. It can be tempting to skip this stage and rush straight on to doing a full drawing, but it’s really important and will save you lots of time and disappointment in the long run!
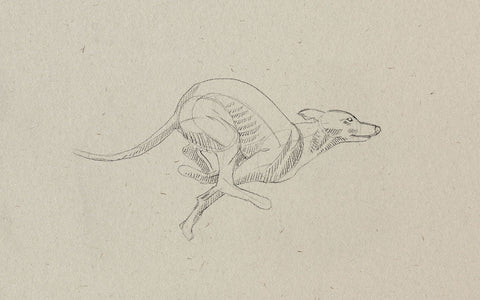
To get prepared, go out to a park or public area and watch the dogs that go by – observe how they sit, run, pounce, jump and move. Do some quick rough sketches of dogs doing all different things to gain familiarity with how they hold themselves, and how their bodies move. This will make it easier when it comes to doing your final dog drawing.
4. Draw the outline of your dog

Once you feel prepared, grab your paper, pencils and other chosen drawing materials. Find a comfortable place to sit with lots of natural daylight.
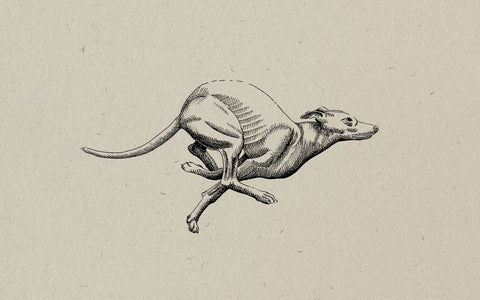
To begin, start with the basics. Draw the dog’s skeleton outline in super simple shapes. Sketch light ovals for their face, muzzle, torso and paws. Connect these with simple lines for their limbs, tail, feet and ears.
At this point, make sure you’re holding your pencil lightly to keep all your lines faded so it’s easy to draw over or erase any little errors. Remember to make sure the dog’s limbs are positioned naturally with joints, as they would be in real life, and not stiff and straight.
5. Create the dog’s body

Once you’re happy with the basic outline, start to add some weight to their body. Dogs have muscular definition beneath their fur. Join all your lines together so it starts to take shape as your chosen dog, ensuring you add curves where their muscles and joints are naturally.
For sleek short-haired dogs, like Lurchers, it’s super important to get their muscle tone right. However even if you’re drawing a fluffier dog, like a Pomeranian, it’s still equally as crucial to sketch the body accurately underneath the fur.
6. Add definition to their natural body shape
The next step is to add in their facial features, and this is where the dog really starts to come to life.
Focus carefully on your chosen breed, and add in their eyes, nose and mouth. Dog breeds have eyes set in unique positions, varying muzzle length, and other distinct differences. Some breeds hold their mouths open with their tongue flopping out, but others don’t.
Start to add further definition to the dog’s body at this point too, concentrating on areas of light and shadow. Take your time on this, and don’t be afraid to erase anything you’re not happy with.
7. Add depth, shadow and texture

Once you’re feeling confident with your dog outline, start to add further depth and areas of shadow.
Soften all the straight lines you’ve drawn by adding the texture of their fur. It’s best to use short, scribbled strokes to emulate the unique fur texture. Make sure you look closely at whether your chosen dog has a long or short coat, curly or straight fur, and any areas of tufted fur.
8. Finish up with ink